Budget Ryzen Build
Late in 2018, I wanted to create some screencast/howto videos for one of my jobs. I always thought my older laptop (an Acer Aspire R5 471T) was pretty snappy. Then I tried editing simple 1080p videos with some Fusion effects/titles in Davinci Resolve 15 and had my world fall apart.
So I decided that as soon as I could scrape together a few bucks, I would go back to the beginning of computer time … away from laptops and back to THE MIGHTY DESKTOP!!
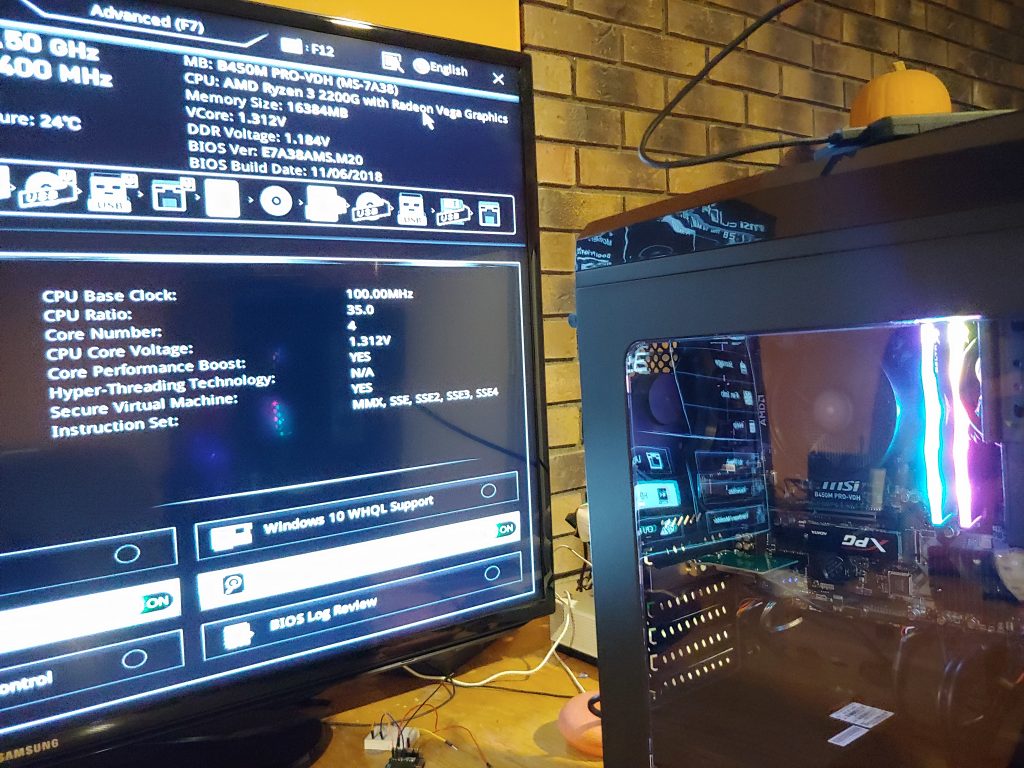
I spent MONTHS reading and watching reviews, analyzing motherboard owner’s manuals, running pro/con lists through my head on every component, over-analyzing every little piece. It’s this thing I do, trying to make sure I squeeze every bit of price/value I can out of my buys while minimizing my sacrifices.
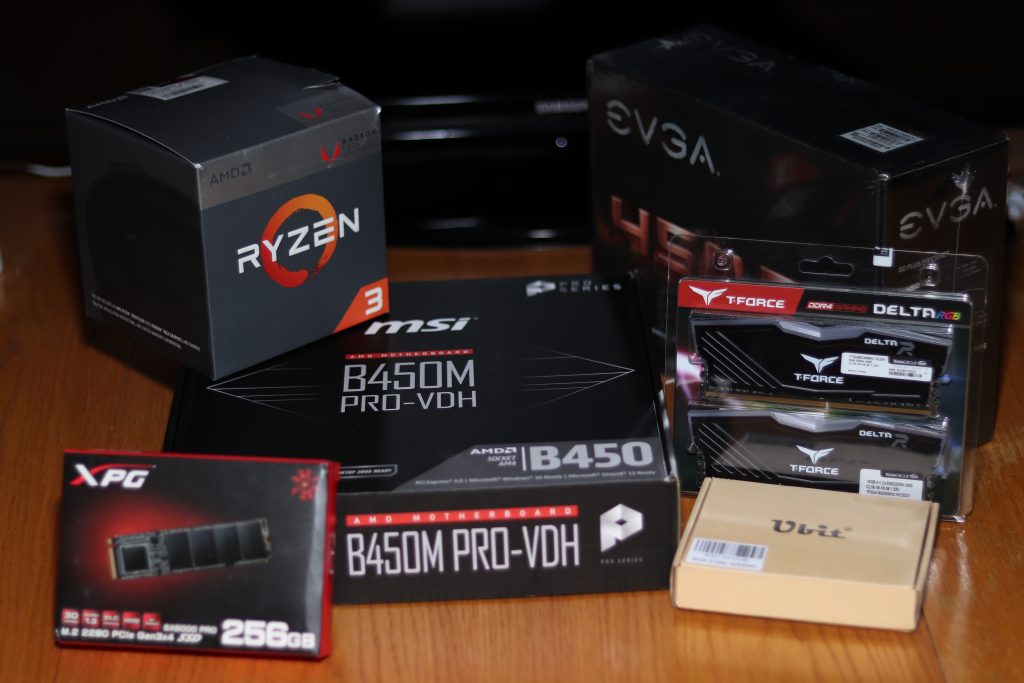
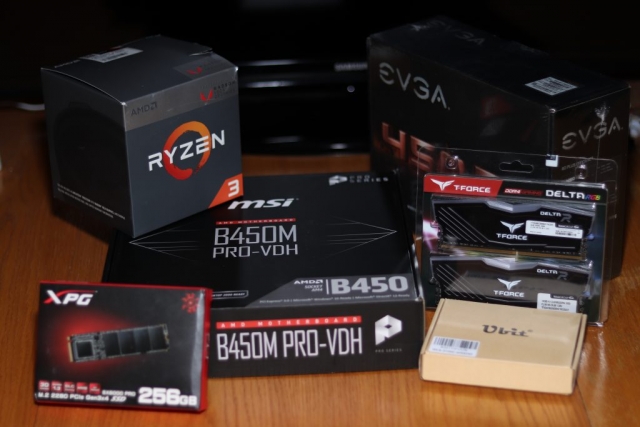
Here are the parts that I selected for my build. My target budget was around $600CAD. And yes, that’s a pretty extreme limitation, given the exchange rate these days. That’s about $450US.
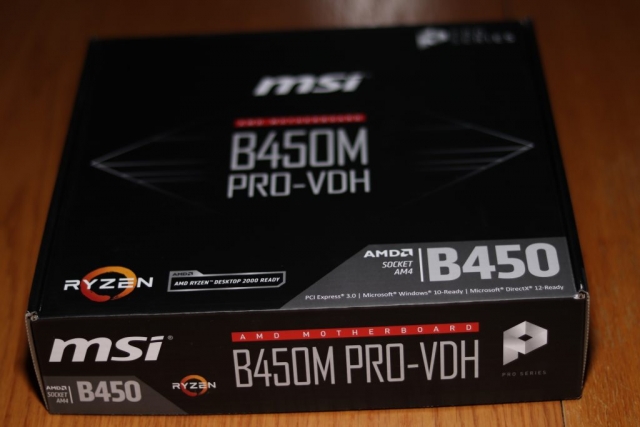
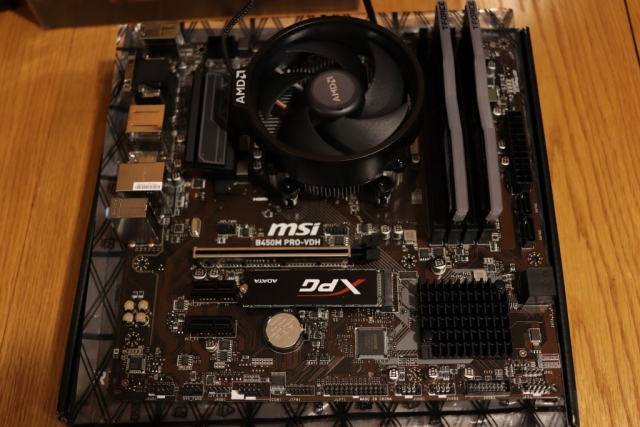
- MSi B450M PRO-VDH motherboard ($105.99)
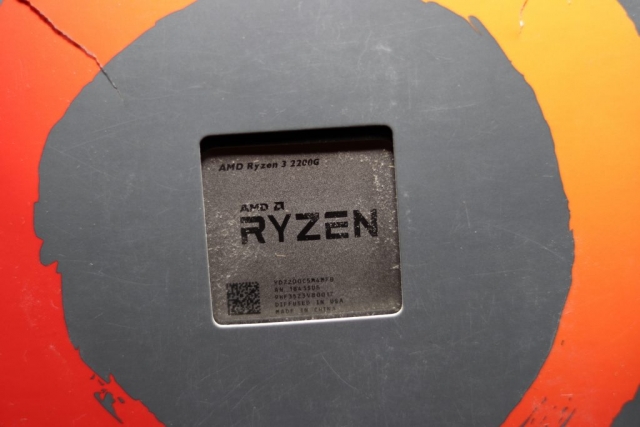
- AMD Ryzen 3 2200G APU (129.99)
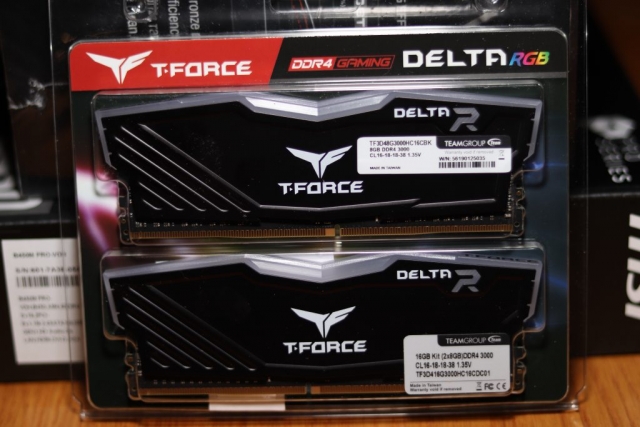
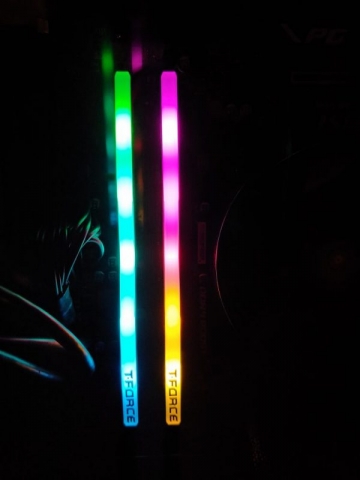
- Team T-Force Delta RGB 2x8GB DDR4-3000 memory ($132.99)
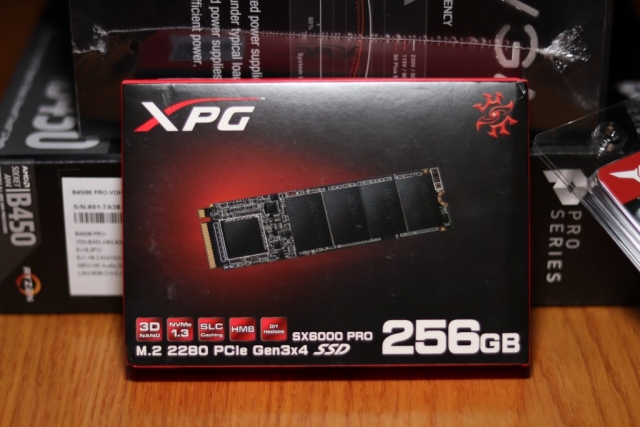
- ADATA XPG SX6000 Pro 256GB m.2 NVMe SSD (65.99)
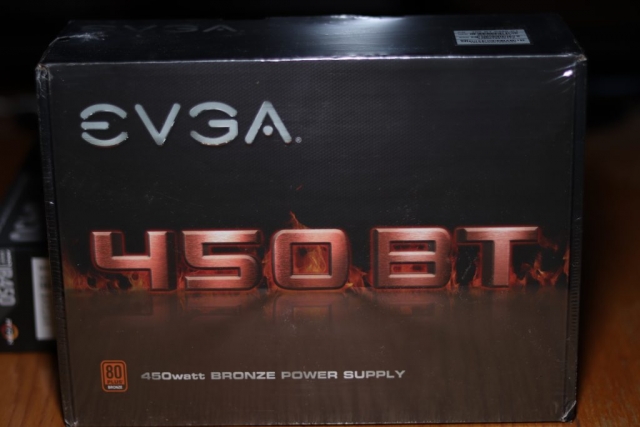
- EVGA BT450 80+ Bronze power supply ($49.99)
- Rosewill Naultilus ATX Mid-Tower case ($54.99)
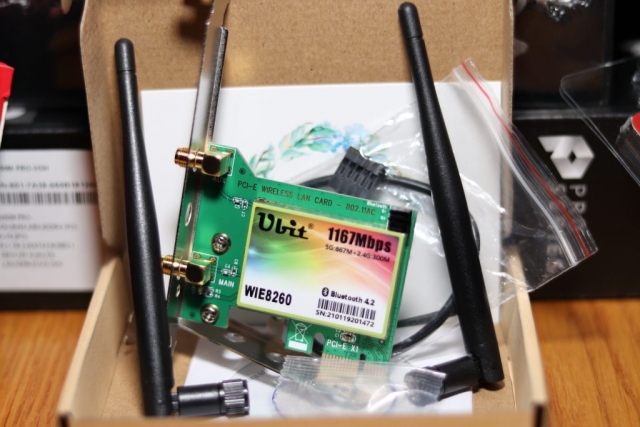
- Ubit AC1167 802.11ac/Bluetooth 4.2 PCIe x1 wireless card [Intel 8260 chipset] ($32.95)
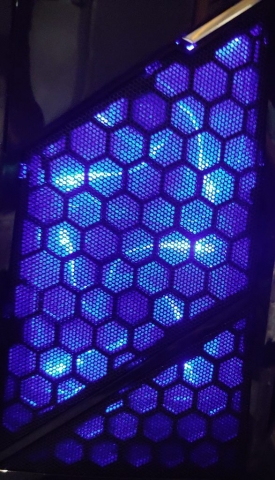
Now, because the motherboard only has connectors for two chassis fans, and the Rosewill case comes with three installed, plus room for two more in the top, I also added:
- Electop 10 port 12V 4 pin PWM fan hub controller ($13.99)
And while I didn’t NEED to do this, since the Wraith Stealth cooler that the 2200G comes with is actually a pretty good little cooler, I also added:
- Deepcool GAMMAXX 200T 54.25cfm CPU cooler ($14.99)
I’ve had the build put together and running for a couple of weeks now, and I haven’t installed the GAMMAXX cooler yet. I wanted to get a good feel for how the system performed with the stock cooler, even with some mild overclocking. I’ve pushed the CPU up from the base 3.5GHz clock to 3.75GHz, and the iGPU from the 1.1GHz base clock to 1.3GHz. My temps have run from 25 degrees C at idle, up to 67 degrees under full loads. (Ambient room temp 21.5 degrees.) Very respectable. I’m expecting to see about 10 degrees cooler under load with the 200T attached, based on reviews.
So, with all of those parts, my total purchase price was $601.87CAD. WOOHOO!! Even with some ‘extras,’ I managed to keep to my budget.
Of course, after I had everything ordered and on it’s way, I found another addition on eBay. A used nVidia GTX 760 for $60CAD. Yes – I KNOW it’s an old card. And I KNOW the 2200G has integrated graphics that blow Intel’s iGPUs out of the water. But one of the things I’m using this build for is video editing, and Resolve will make use of those Cuda cores, even if they’re old. I’m not a big gamer. My gaming consists of Pinball FX3 and maybe some Sonic racing on Steam. Nothing hard core by any means. I do work on this machine.
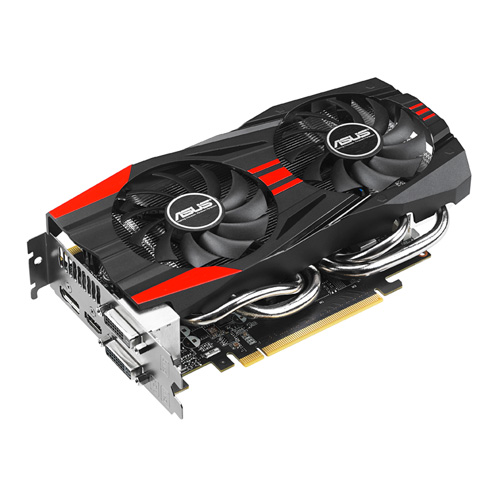
Even this old 2GB card, the ASUS GTX760-DC2OC-2GD5, will give me a pretty decent performance boost for $60CAD. It should make editing timelines smoother.
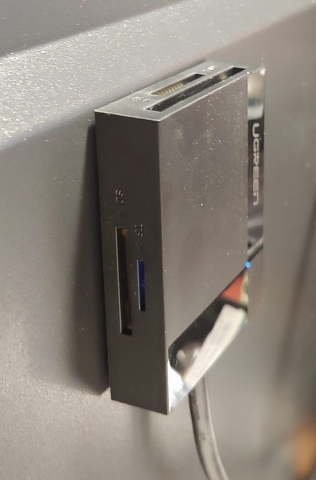
I also added a USB 3.0 card reader – because an old USB 2.0 one I had lying around was unbearably slow at pulling over 20GB of video files off my SLR’s SD card. I chose the UGREEN USB 3.0 All-in-one High Speed Card Reader from Amazon.ca.
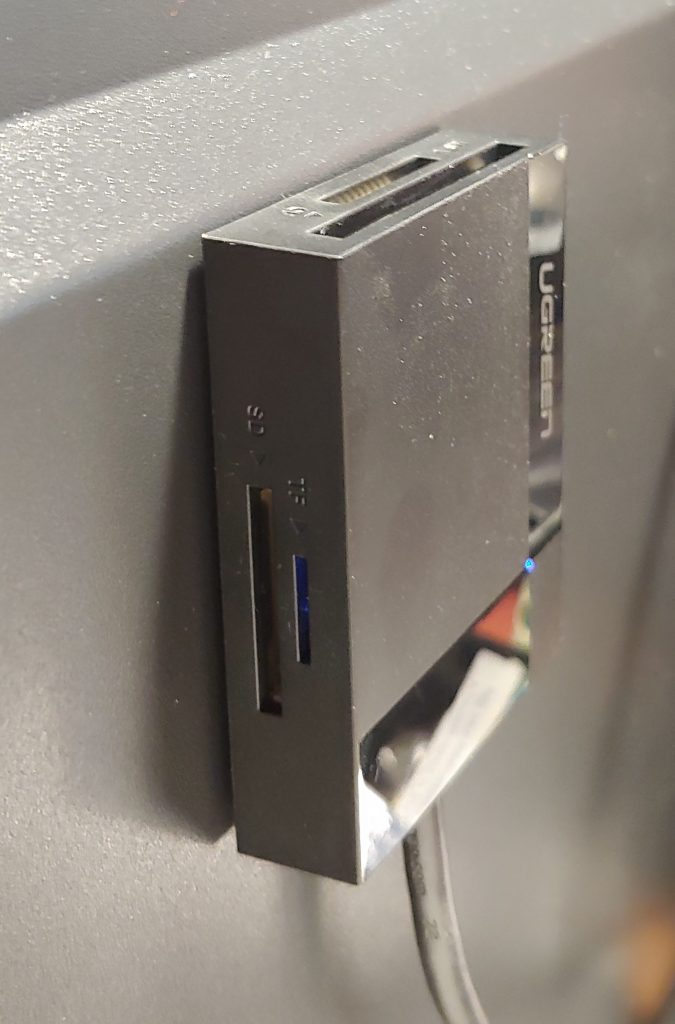
It was $19.99CAD. That was 5 bucks cheaper than anything I could find in a store when I looked. I attached it to the side of the case with some 3M mounting tape. The only disappointment I had was the description on Amazon said it was CF/CFII compatible, but it’s only CF compatible. I have a CFII->SD adapter in my old Canon Rebel XT, and it won’t fit in the slot. Luckily the microSD card inside the SD adapter inside the CF adapter can be removed and used in the reader natively … or inside the SD adapter. Yes, I double adaptered memory cards. CF readers were always harder to come by than SD, and SD cards cost less.
Anyway, back to the build. With the video card, which is still on the way, and the card reader, the full build price is up to $681.86. So, I went a little past my intended $600, but it was a conscious decision.
So those are the details on the #BudgetRyzenBuild. I’ll go into my reasons for each part in another post. This one is getting long enough. Here are a few more pictures to wrap it up.
